


Garden Escape Tile Stencil - Floor Stencil - Floor Stenciling - Wall Stencil - Allover Stencil
Garden Escape Tile Stencil - Floor Stencil - Floor Stenciling - Wall Stencil - Allover Stencil
Couldn't load pickup availability
Share
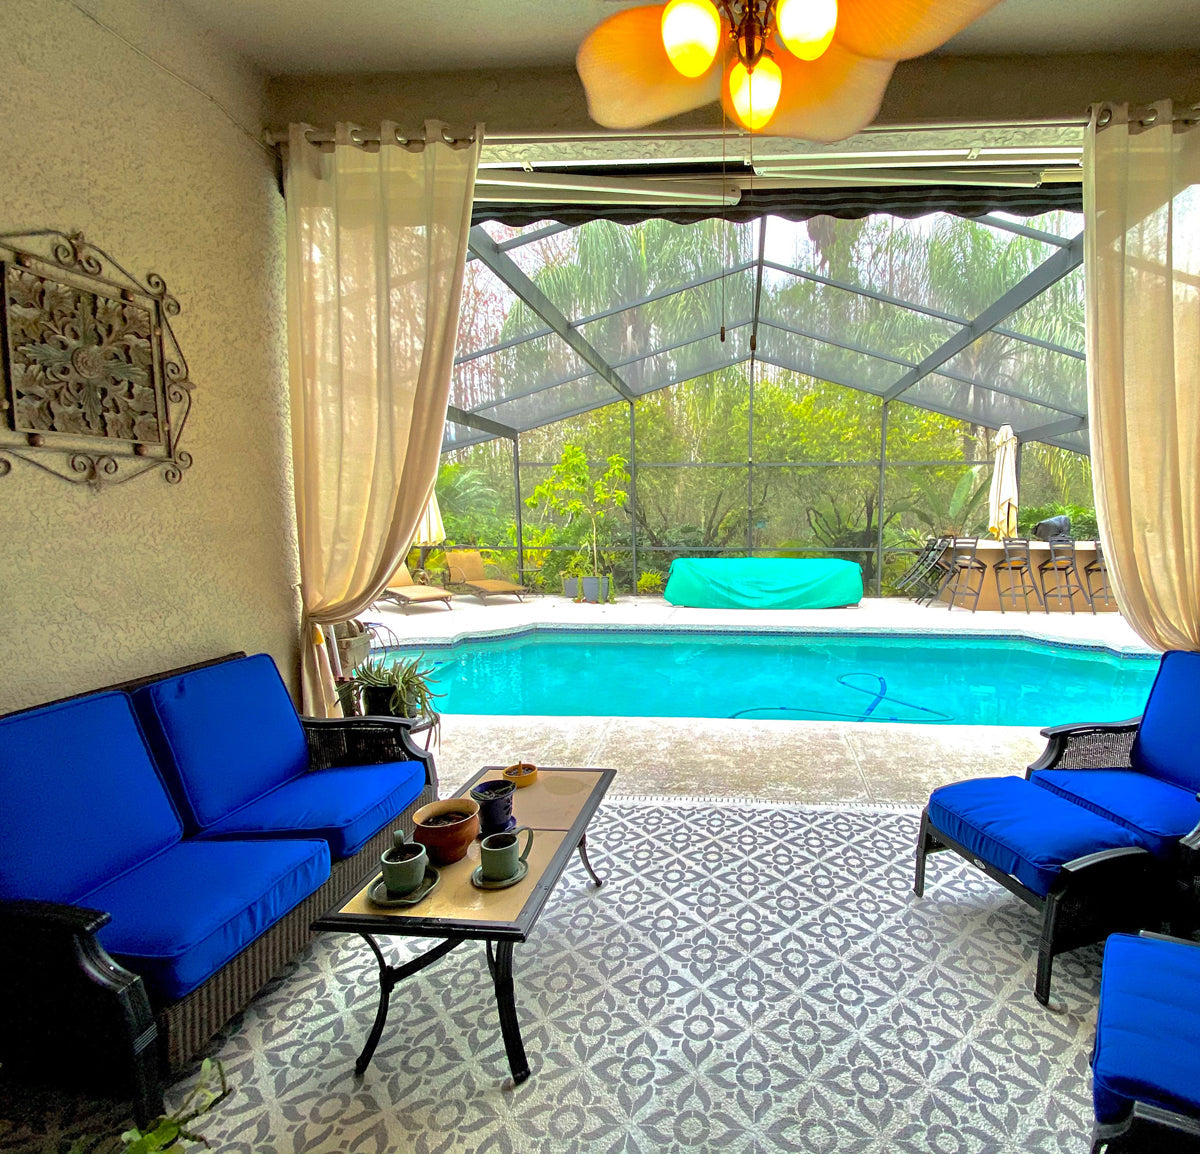
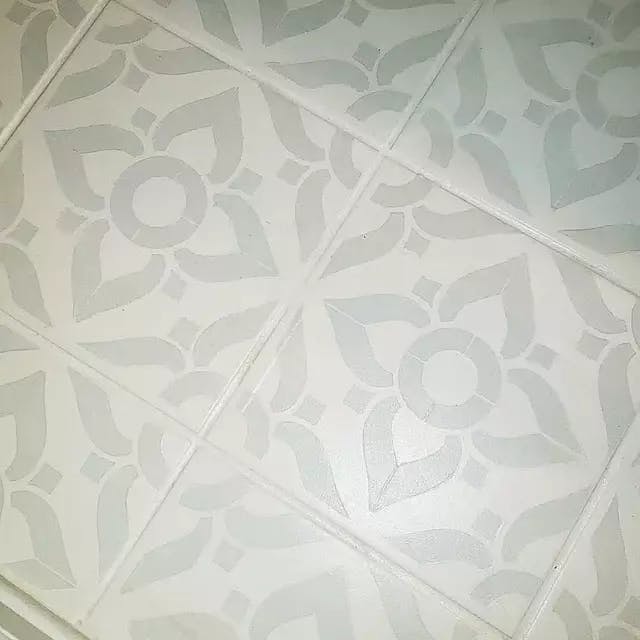
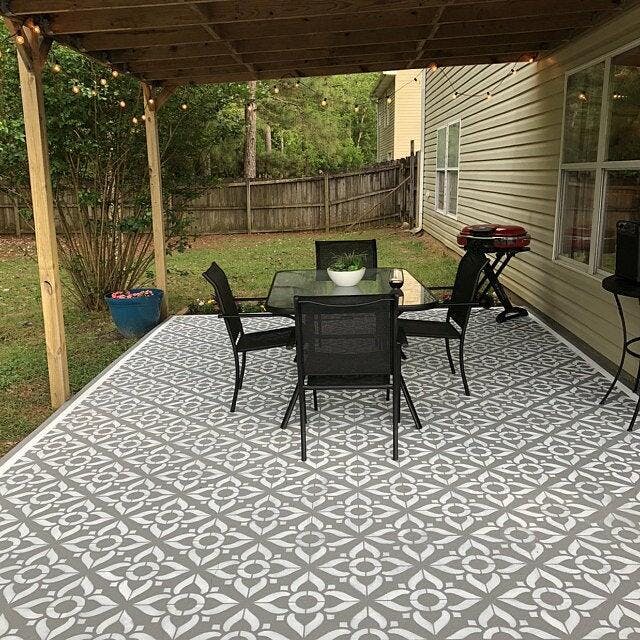
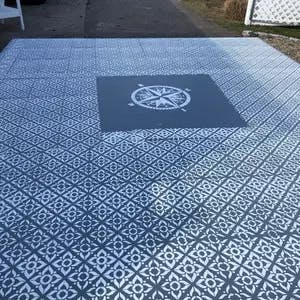
The Garden Escape Tile Stencil is a Fresh & Classic Tile Design that elevates your space beauitfully! Great way to update your Tile floors or finish your Patio space! We have many Tile Stencil Designs available for your Home!
There is a lot of information so PLEASE CAREFULLY READ ALL THE DETAILS prior to selecting your size.
★ Sizes LISTED IS THE TOTAL SIZE OF THE DESIGN to cover your Tiles, and does not include the outer edges of the mylar material.
Garden Escape Tile Stencils are cut from 10 mil opaque SUPER DUTY mylar material to withstand a LOT of use. I suggest purchasing 2 Tiles allowing one to try while using the other to stencil. If you purchase a GROUP TILE STENCIL purchase a SINGLE TILE of the same size for hard to stencil areas.
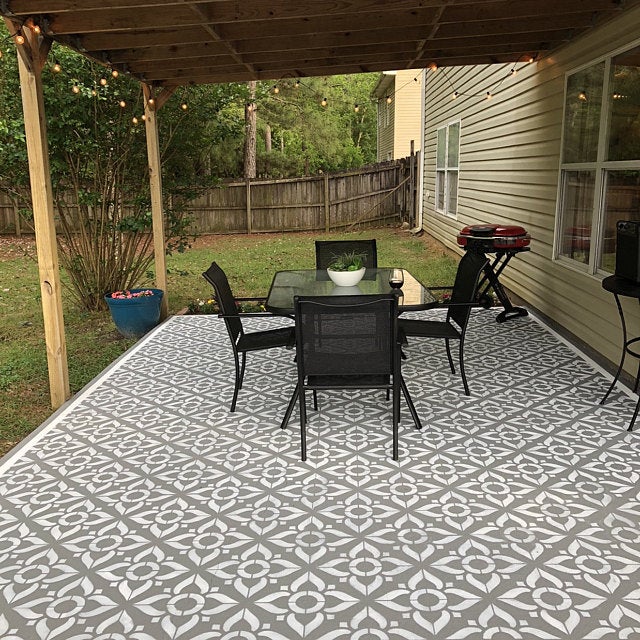
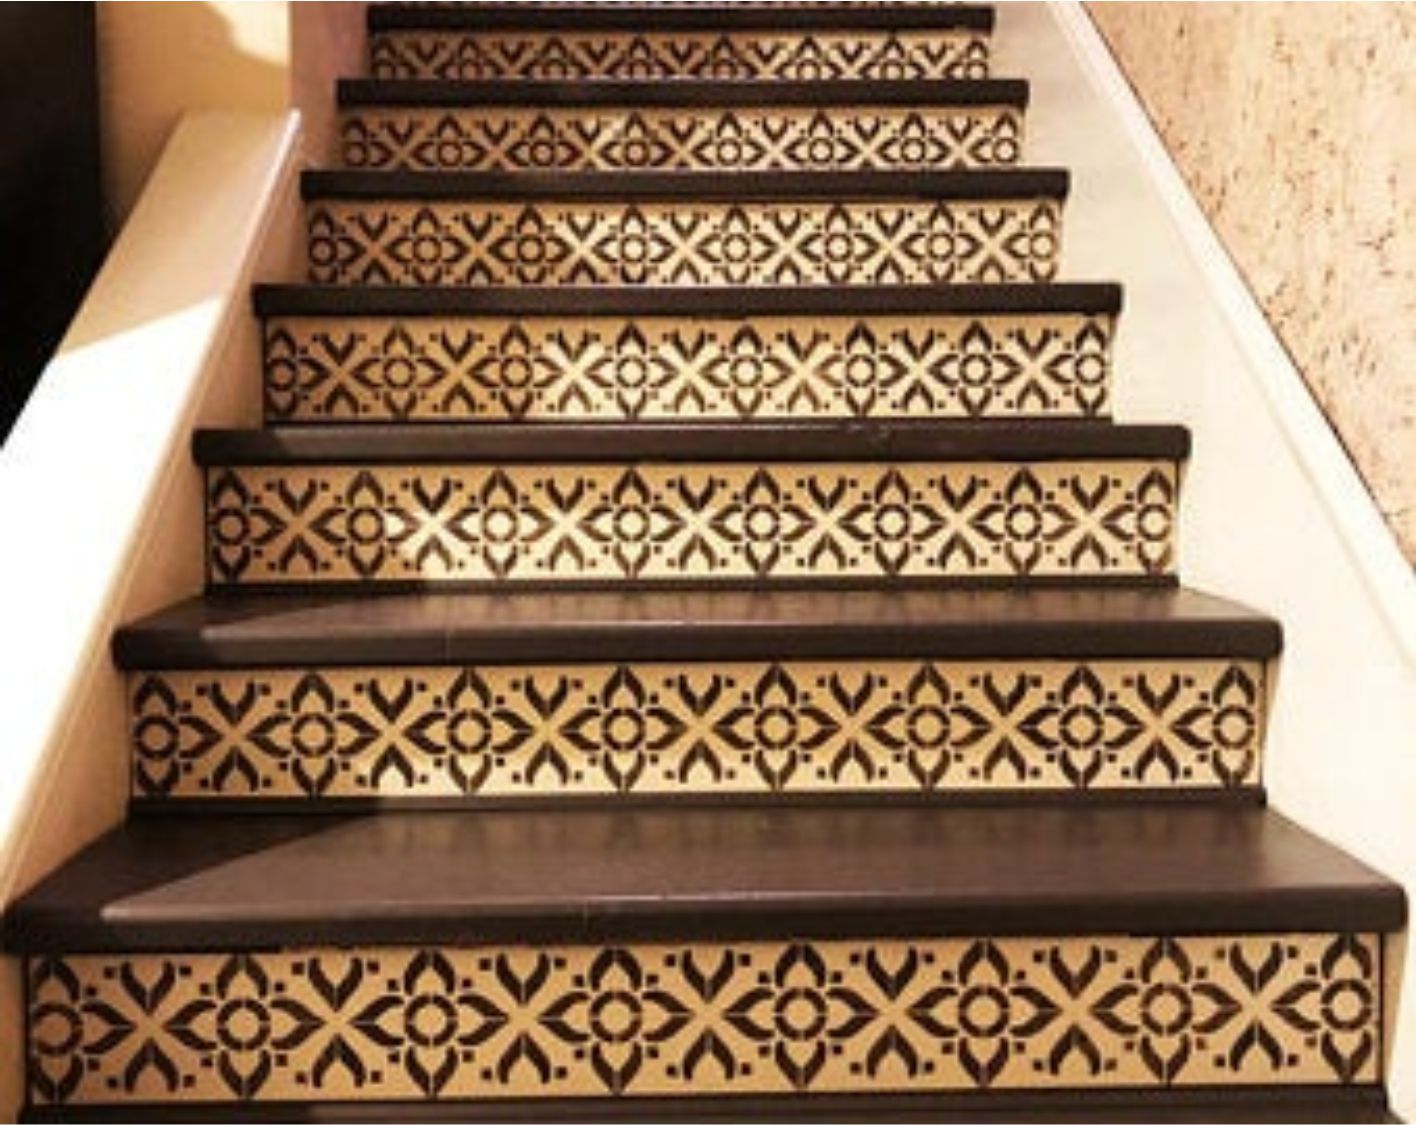
Our first 3 photos are provided by DIY Home Crafters just like you!
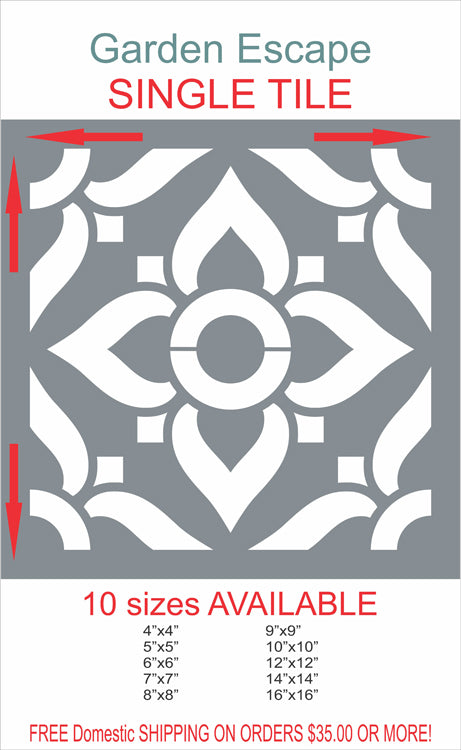
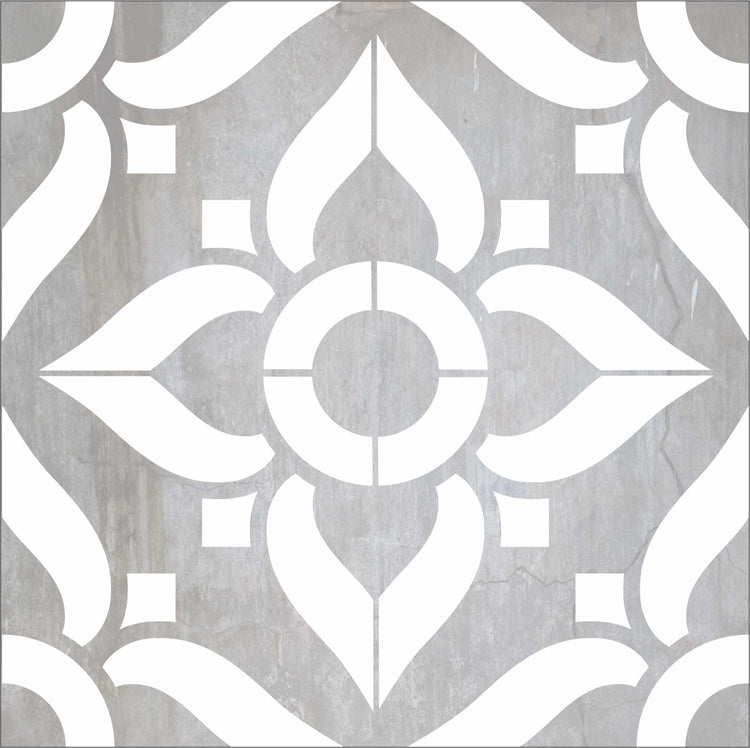
Photo #4 Shows a Single tile design without Tile Guides.
Photo #5 Shows the Sizes Available for SINGLE TILE which is the size of the design, not including the outer edges of my mylar material.
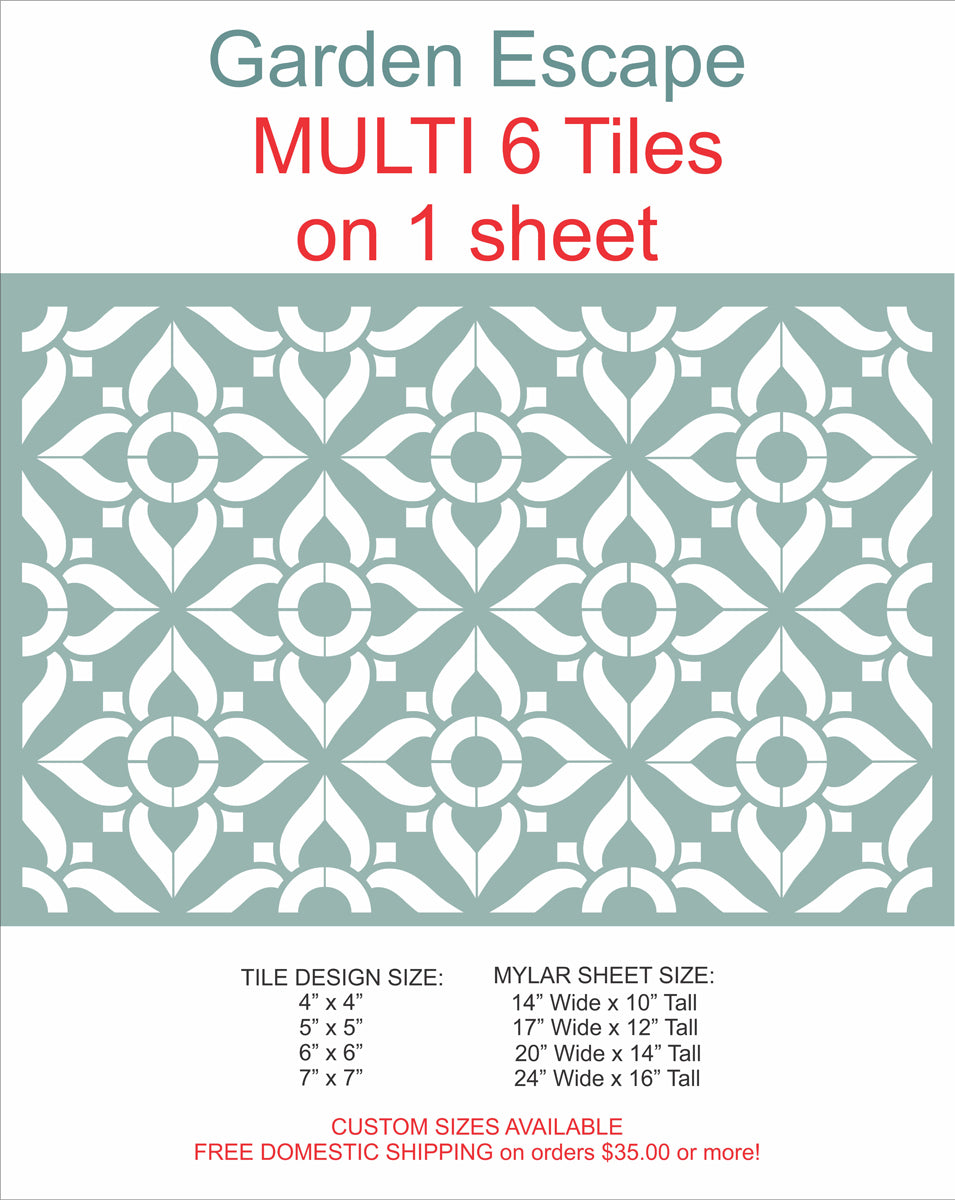
Photo #6 Shows the GROUP of 6 design sizes makes it easier to stencil large areas. Sizes are limited for size options 4"x4" Tile GROUP of 6 to 7"x7" Tile GROUP of 6.
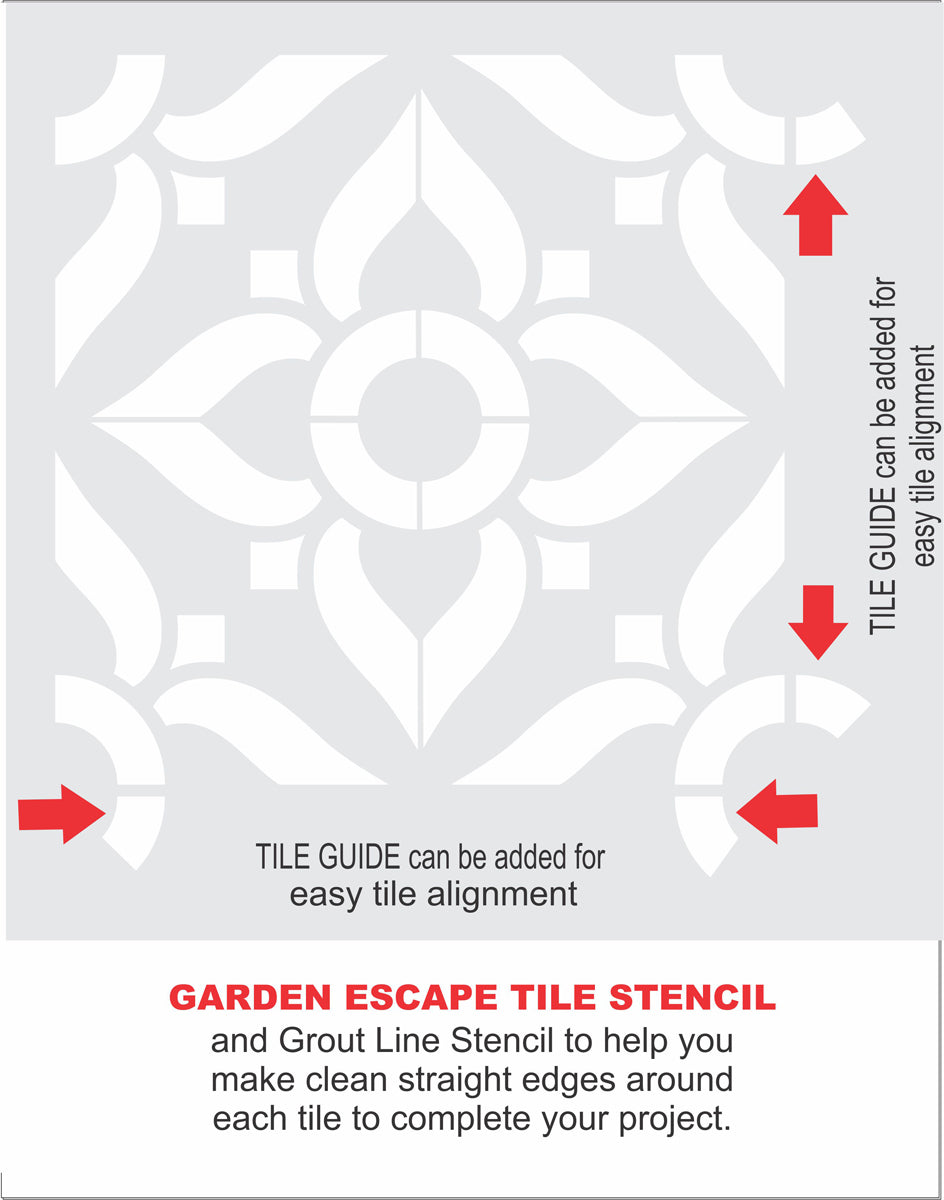
Photo #7 Shows What Tile Guides look like and explains their purpose. You will not need Tile Guides if you're stenciling over existing tiles. Please leave a note "ADD TILE TILES" or "NO TILE GUIDES" in the Custom Information Box at the top of this page when checking out.
Photo #8 This photo shows How to use Tile Guides if you are not stenciling over existing Tiles. . Great for Patios & Linoleum floors to keep your design aligned along with your chalk lines. Start in the upper Left of your area and work your way to the Right edges of your space. Drop down to the second row and just follow through until each row is completed. Be sure when you're at the edges of your project to tape over the Tile Guides.
Please leave a note "ADD TILE TILES" or "NO TILE GUIDES" in the Custom Info. box at the top of this page when checking out. A copy of our Tile Tips will be included to help you complete your project!
Be sure to look at our line of Stencils on our Etsy Shop. We're adding more daily and look forward to working with you on your special project!
be uniquely you!


Customer Reviews
Evelyn on Feb 24, 2021-
Evelyn Bernard added a photo of their purchase
5 out of 5 stars
Absolutely fantastic. I love the way it turned out.

Thank you!
Apr 10, 2020- This was an awesome project for myself and my children to do during the stay at home order due to COVID19. Thanks so much for a great product and super fast shipping!! Stay safe!!
Apr 7, 2022- First time DIY project. So much fun! I love the stencil and it worked great on concrete pad we will be putting a pergola on.
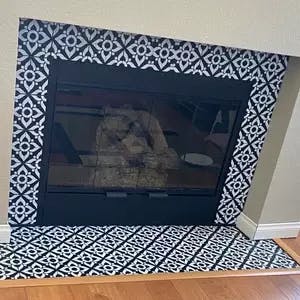
Jun 6, 2020- Cheryl is great! Along with a handout, she marked the stencils- top, bottom, left, right ... so placement is easy. Added touch, which was helpful, really shows her level of service. Have yet to stencil, just practicing until prep work is complete, then I get to try my hand at stenciling. Finished stenciling. My suggestion is to have two stencils, one to keep full size and one to cut to size on those not full size tiles. I got three, just in case and I did use all three, cutting up two of them for those smaller tiles. Prep work is everything. Take time and clean stencil after each use. I did use Scotch repositionable spray adhesive to ensure stencil was in place Results attached. Fireplace makeover done.